How to render images from the Notion API with Next.js image optimization
Development
Why Next.js Image Optimization won’t work with Notion API images?
If you’re a developer building a website on top of Notion as a CMS, you might have found the issue that images are broken ~1 hour after deploying. That is because links to images returned by the Notion API expire.
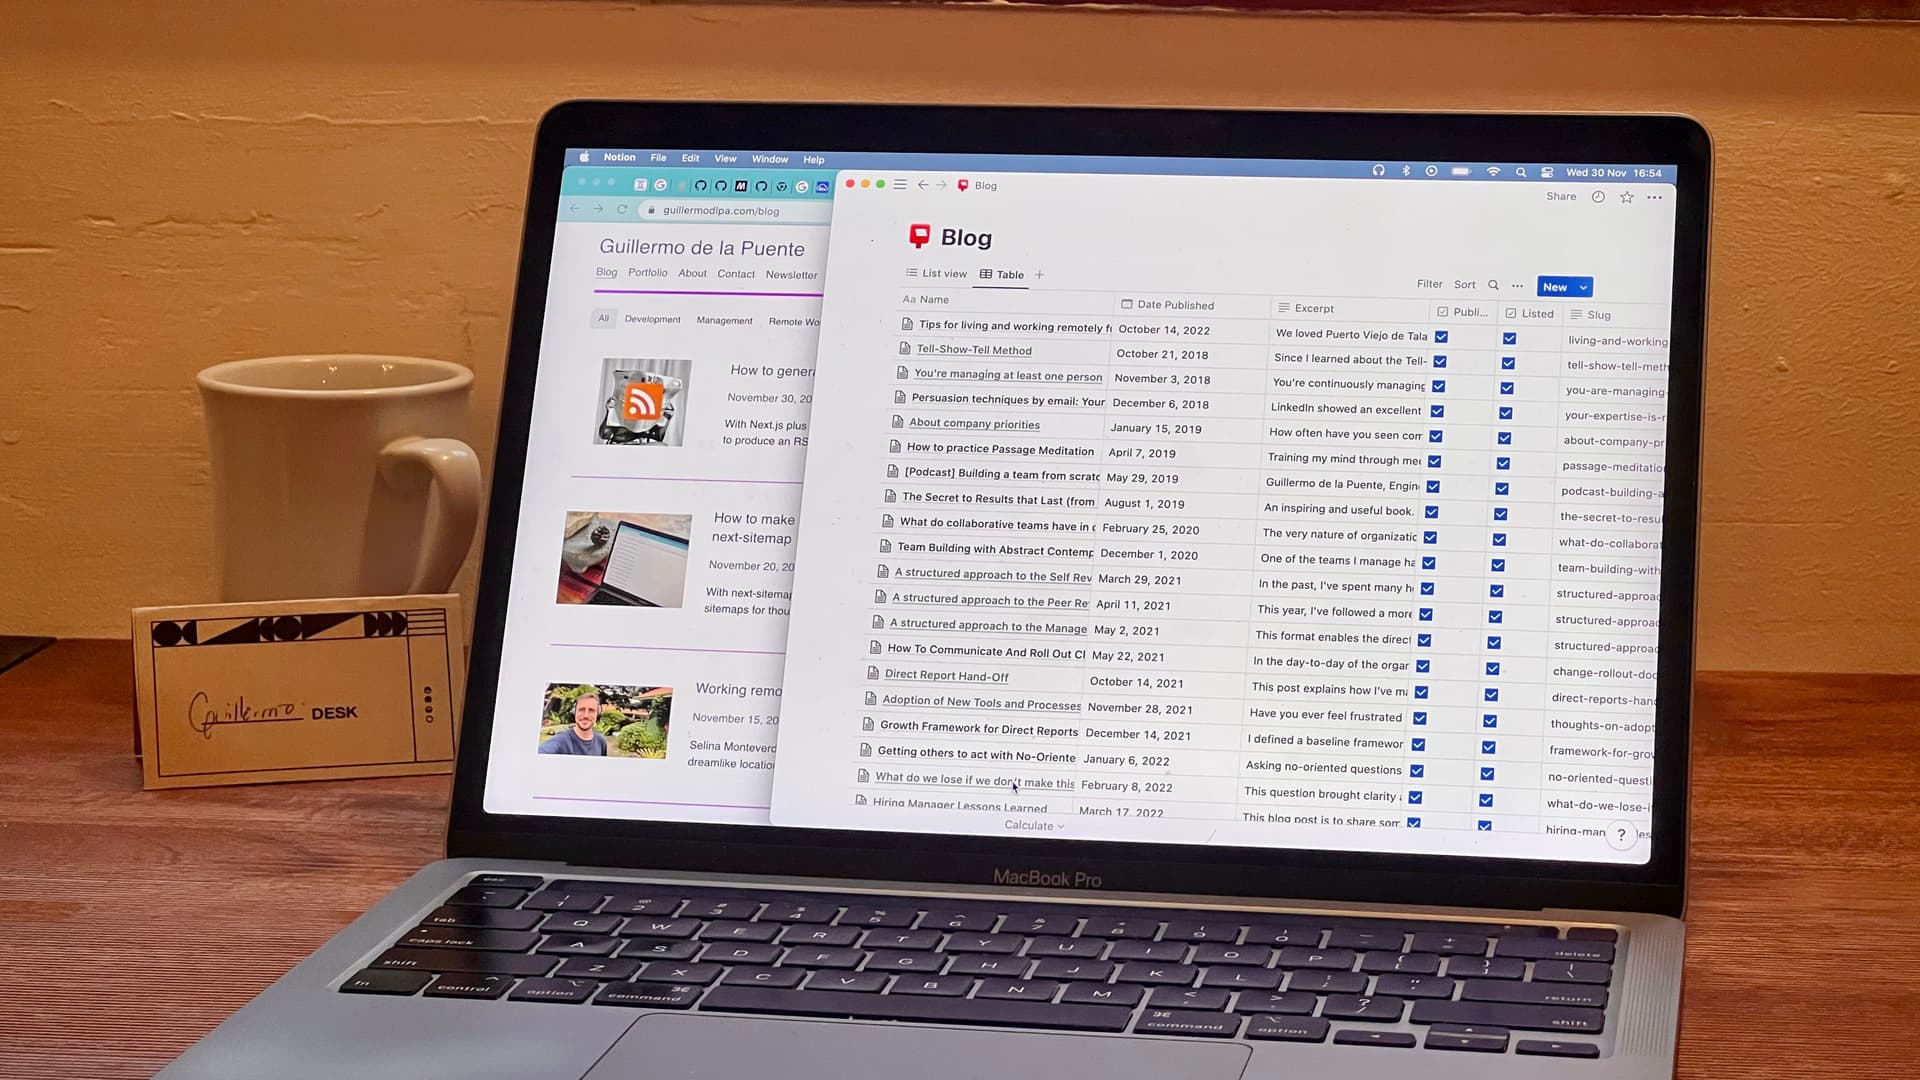
This is what my blog looks like if I use the image links provided by Notion with Next.js image optimization, once their links expire:

The easiest workaround is to not use static generation. If we fetch blocks frequently from the Notion API, we get new temporary URLs each time. But static generation is a requirement for me because I want to be able to make changes to my posts in Notion, and publish them on another day after a review.
So… should I use Next.js Image Optimization?
Totally!
Using image optimization allows us to have high resolution original pictures, and let Next.js scale them down and serve appropriate versions of them for each viewport size. For example, a mobile device will get low-res versions, while a large monitor will get high-res ones. Image optimization can save tons of MBs of download to users, especially the ones on mobile devices!
How to solve the problem of expiring URLs for images?
1. Approach of moving images outside of Notion
@coryetzkorn works at Notion and wrote an amazing blog post about reimplementing his website with Next.js and the Notion API (thank you!). He implemented a script to move images from Notion to S3.
My only nitpick is that it’s done at build time inside getStaticProps. Being strict, I hate to add side effects to getStaticProps. This function should fetch data and return props for static generation without producing changes on external services or databases.
I believe this action should take place before deploying changes and before revalidating pages. In this article, I describe in detail I how accomplished it for my blog.
2. Approach of proxying the requests
@jitl, who also works at Notion, solved the issue of expiring links by adding a proxy endpoint to cache images between Notion and the frontend (thank you for that post!).
The proxy endpoint receives the page or block ID, and returns the image itself.
The website uses the proxy endpoint to render images, applying Image Optimization over it. Since the endpoint takes the page or block ID, not the Notion-hosted image URL that expires, the endpoint is stable and Next.js can optimize it in the future.
To not use the Notion API each time, the endpoint is cached for a long time by the CDN using the
Cache-Controlheader (in my case, it’d be the Vercel Edge Network) and the image is persisted.
It’s a clever solution, but I had to work around many things when implementing it, like Vercel and local environment differences, not being able to persist files in the public folder when revalidating, the size limits on API responses (capped in Vercel), and therefore having to hack Next.js pages for this purpose. Also, since I want to make changes in Notion without publishing them, I need to ensure the images won’t be fetched again during runtime, so a non-persistent cache doesn’t work for me. That’s why I prefer hosting images in an external service.
3. Best of both approaches, for large production environments
For a large production environment, a robust solution could be the two solutions combined:
A microservice that acts as proxy for Notion images.
A persistent storage layer (like S3) to save the images, so they never need to be re-requested from Notion if the microservice restarts or has multiple nodes.
Step-by-step of approach 1: automatically moving images hosted in Notion to a different provider
My approach for this website has been to move Notion images to another CDN before publishing changes.
Using the Notion API, moving images can be automated with a script and can be executed automatically during deployments and revalidations.
Step 1. Setting up Cloudinary
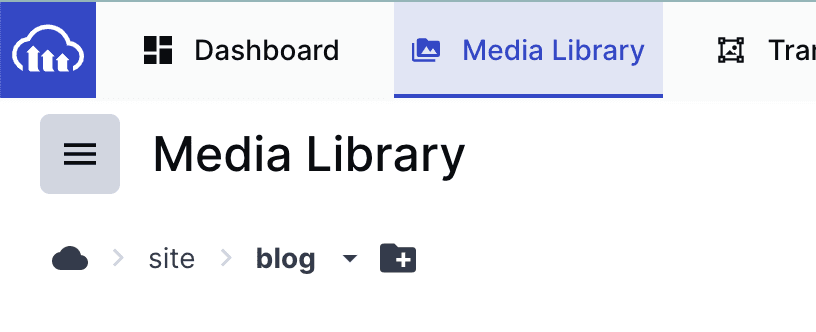
I chose Cloudinary because their media library is convenient to use and they have a generous free tier.
Since I do a lot of little projects with Cloudinary, I reuse the same account and just make folders to separate them. For this blog, the path is site/blog.
If you’re doing this, you’ll need to grab your API environment variable. It’s in the Cloudinary dashboard.

Step 2. Implementing a script to upload all Notion images to Cloudinary
Using the Notion API and the Cloudinary API (or the API of the service you prefer), the script performs:
Fetch all blog post pages
For each blog post page:
Check if the cover is hosted in Notion
If yes, download it from Notion, upload it to Cloudinary and set the new image URL in Notion
Fetch all blocks in the page recursively
For each image block:
Check if the image is hosted in Notion
If yes, download it from Notion, upload it to Cloudinary and set the new image URL in Notion
Here’s my implementation. I also made it an NPM package:
$ npm install upload-notion-images-to-cloudinary
The package could be better, and expand its support to custom images in callout block emojis. Contributions would be very welcome!
Step 3. Configuring deployments to upload of Notion images to Cloudinary
Deployments are a good time to run the script, before the static pages are generated.
I originally added it as a prebuild step, so that it would always run with npm run build. However, I actually only want it for deployments to Vercel, not when running it locally, so I added it directly on Vercel’s configuration:
{
  "buildCommand": "npx upload-notion-images-to-cloudinary && npm run build"
}
vercel.json with build command. See the file for this website.To run the executable of the script I made, some environment variables need to be set:
NOTION_TOKEN=
NOTION_DATABASE_ID=
CLOUDINARY_URL=
CLOUDINARY_UPLOAD_FOLDER=[in my case, site/blog]
Step 4. Executing the script when revalidating statically generated pages
When revalidating statically generated pages (the blog posts), I want to run the script too, to ensure all updated images are moved.
On-demand Revalidation is a mechanism to let Next.js know that a statically generated path has been updated, and that it should regenerate it. In this blog, all posts are statically generated and I can publish changes made in Notion by revalidating their paths.
To do it, I simply invoke the script to move images before revalidation. If you want to use Cloudinary, you can use the package I prepared: upload-notion-images-to-cloudinary.
Here’s a simplified version:
import uploadNotionImagesToCloudinary from 'upload-notion-images-to-cloudinary';
import { fetchNotionPageIdForBlogPost } from 'lib/notion';

async function revalidateBlogPost(blogPostPath: string) {
  // Use the Notion API to get the page associated with the path to revalidate
  const pageId = await fetchNotionPageIdForBlogPost(blogPostPath);

  // Move images in that page to Cloudinary using upload-notion-images-to-cloudinary
  await uploadNotionImagesToCloudinary({
    notionToken: process.env.NOTION_TOKEN,
    notionPageId: pageId,
    cloudinaryUrl: process.env.CLOUDINARY_URL,
    cloudinaryUploadFolder: process.env.CLOUDINARY_UPLOAD_FOLDER,
    logLevel: "debug",
  });

  // Revalidate the desired path and the blog index
  const pathsToRevalidate = [
    updatedBlogPostPath,
    '/blog',
  ];
  for (const path of pathsToRevalidate) {
    await res.revalidate(path);
  }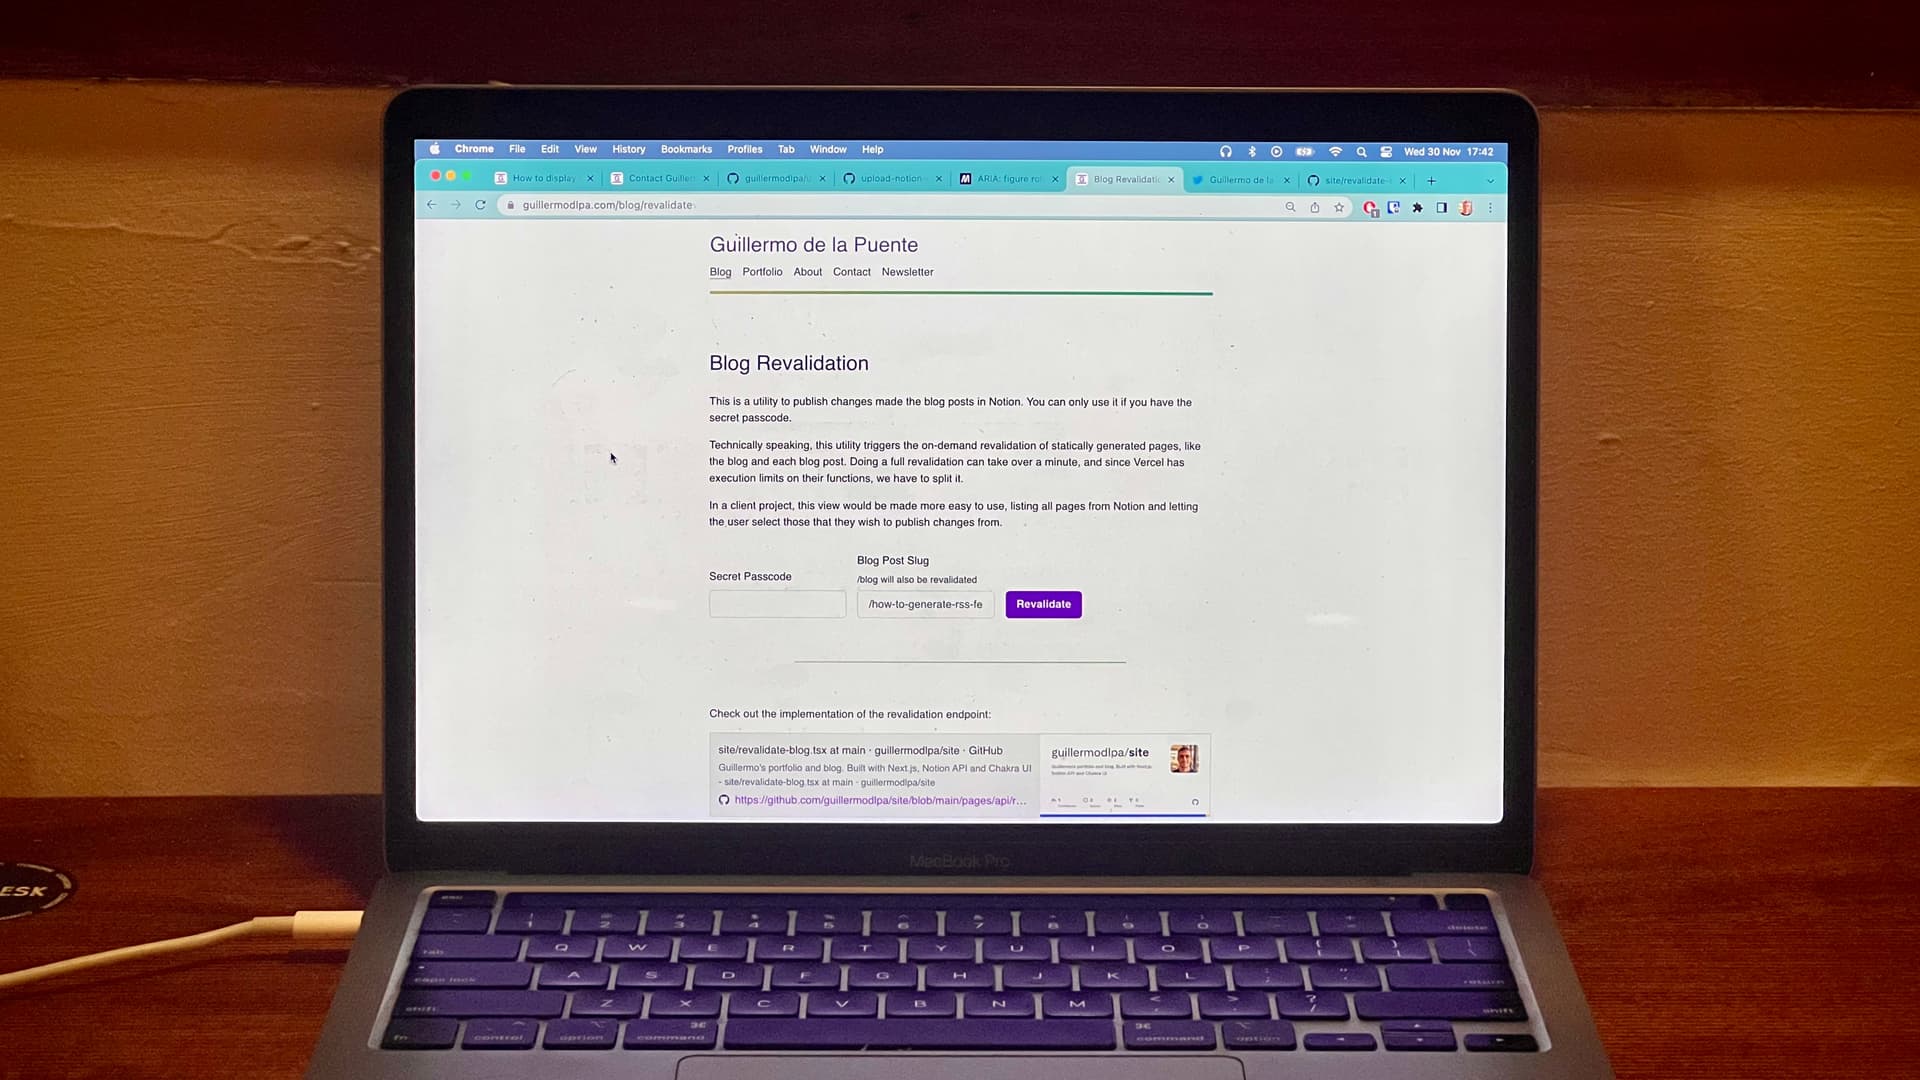
}For this website, I implemented a small utility page so I could revalidate any blog post with a UI, as well as showcase how things work. Check it out: https://guillermodlpa.com/blog/revalidate
Happy coding!